As a project manager, you’re probably getting to know the project management software Jira. If you are a Jira user, have you ever felt this tool is not efficient and its process is too complicated for you?
Cheer up, there’s nothing to panic about. Did you know that each tool is created for different purposes, maybe that’s the tool that might not be suitable for your demand? In this situation, you should consider transferring your project in Jira to a new one that might be appropriate, UpDiagram can be a promised selection in your list. But before the transition, you need to be clear about what you really need to change. Here are 6 reasons for switching Jira to UpDiagram we have researched you can refer to them for your comparison and decision.
Not now, when?
Many teams have chosen Jira over the years:
– Jira includes a large number of tools and functions
– Able to integrate with different external systems
– Provide an overview of team activities
– Allows users to set team permissions
– Qualified for product-centric workflows, such as scrum projects and bug tracking
Since Jira announced some significant modifications to its services, users have faced a lot of trouble. If you’re thinking about switching, there’s no better time than now.
– Many previous subscribers saw their fees increase by 11 percent to 15 percent, depending on the number of users, as of February 2021.
– Another significant change is that Jira will phase down its server-based licensing, with all support for these services ending on February 2, 2024.
Although Jira developers inform that this will enhance overall the performance of their service, these significant shifts are supposed to result in some rising issues for both Jira and most of their consumers.
Jira forces server-based customers to recreate their infrastructure in the Jira cloud from the ground up. Unfortunately, this don’t accomplish with one button click. Continue reading to know what trouble you get with Jira and UpDiagram solutions.
6 Reasons to Switch from Jira to UpDiagram
1. Cost
Jira problem:
Is it worth it for Jira users to pay an arm and a leg in the future? 🤔
Furthermore, as previously said, Jira is predicted supposed to offer a more expensive price plan in the future. At present, Jira’s Cloud service costs $7/month per user for basic services. You’ll likely need to purchase more than just one package in Jira to get all the features you need. Jira’s monthly fee may exceed $7 per user. For instance:
– If you wish to have documentation and wikis, you need to buy a Confluence subscription.
– Trello subscriptions can be purchased for the non-product teams.
– For features like Goals and time tracking, you’ll almost certainly need a third-party add-on.
UpDiagram solution:
The special feature of UpDiagram’s pricing in comparison to Jira is that it is less expensive while still meeting all of the fundamental functionalities and user demands. The maximum you may spend for UpDiagram per month is only $7. Pricing Details:
– Starter (Free) includes unlimited projects and work packages, customization, and fundamental features. Basic customer service (email)
– Professional ($3 per user): Aside from the advantages of Starter, users can also integrate other tools into UpDiagram which helps users manage all in one platform. Time tracking, Gantt chart, tables, and a formula column are all available with a premium support level (Email, Phone, Quarterly review)
– Enterprise ($7 per user): This includes everything in the Pro and Starter programs. Especially, users can request integration and suggested custom development, enterprise assistance (Email, Phone, Quarterly review, Extensive training & personalized support)
UpDiagram also offers an annual billing scheme (savings of 20%) for two-priced packages. It is suitable for businesses who want to entirely switch from Jira to UpDiagram.
Furthermore, UpDiagram offers a discount program for Startups and Enterprises, which includes a two-year free trial of the Pro package with dedicated customer support. Enterprises only make a payment after the first two years. Besides, if an enterprise has a long-term partnership with UpDiagram, it will be able to take advantage of further discounts.
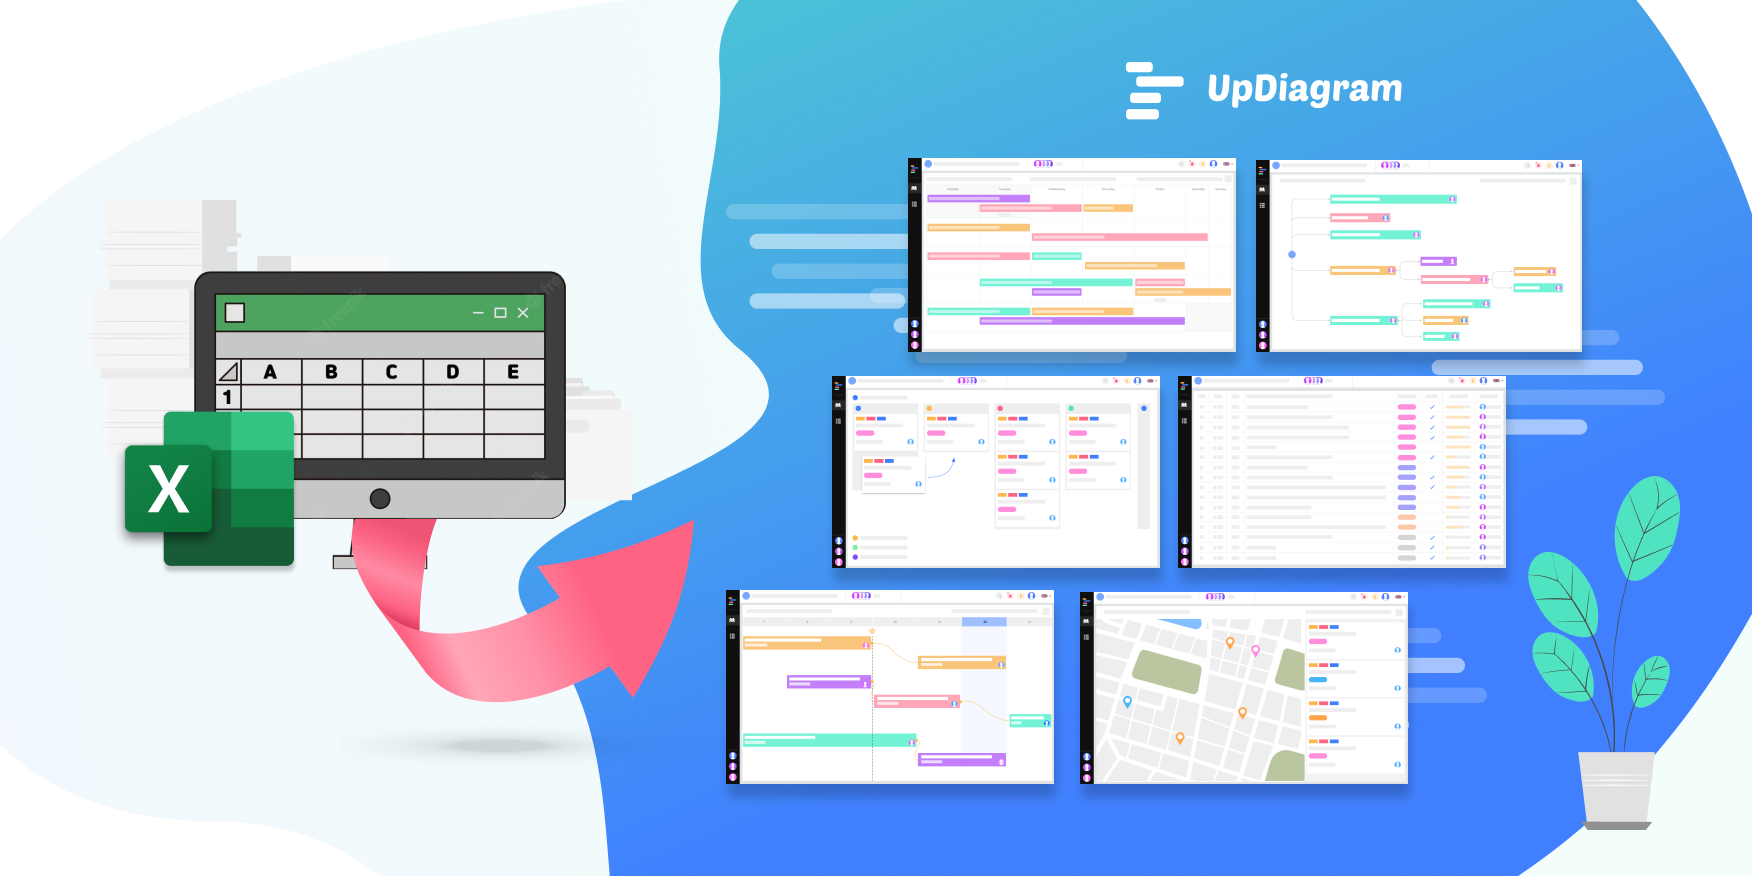
UpDiagram also features third-party integration, such as Slack, Github, Gitlab, etc. This means you won’t have to input your data if you switch from Jira to UpDiagram. So, even if some of your teams opt to stick with Jira, you can easily migrate to other teams which are ready for the transition. The team collaborators’ migration is simple, all you need is just to add their emails (UpDiagram registered) in the import process.
2. Customization
Jira problem:
Jira offers some features that are used for various purposes. Jira projects may require a full-time administrator to effectively set up administrate. In addition to the expense of package purchasing, it implies that your team is investing more time and money in using Jira. ROI reduce because the investment cost is large.
So why not restart with a management platform which takes you fewer resources?
UpDiagram solution:
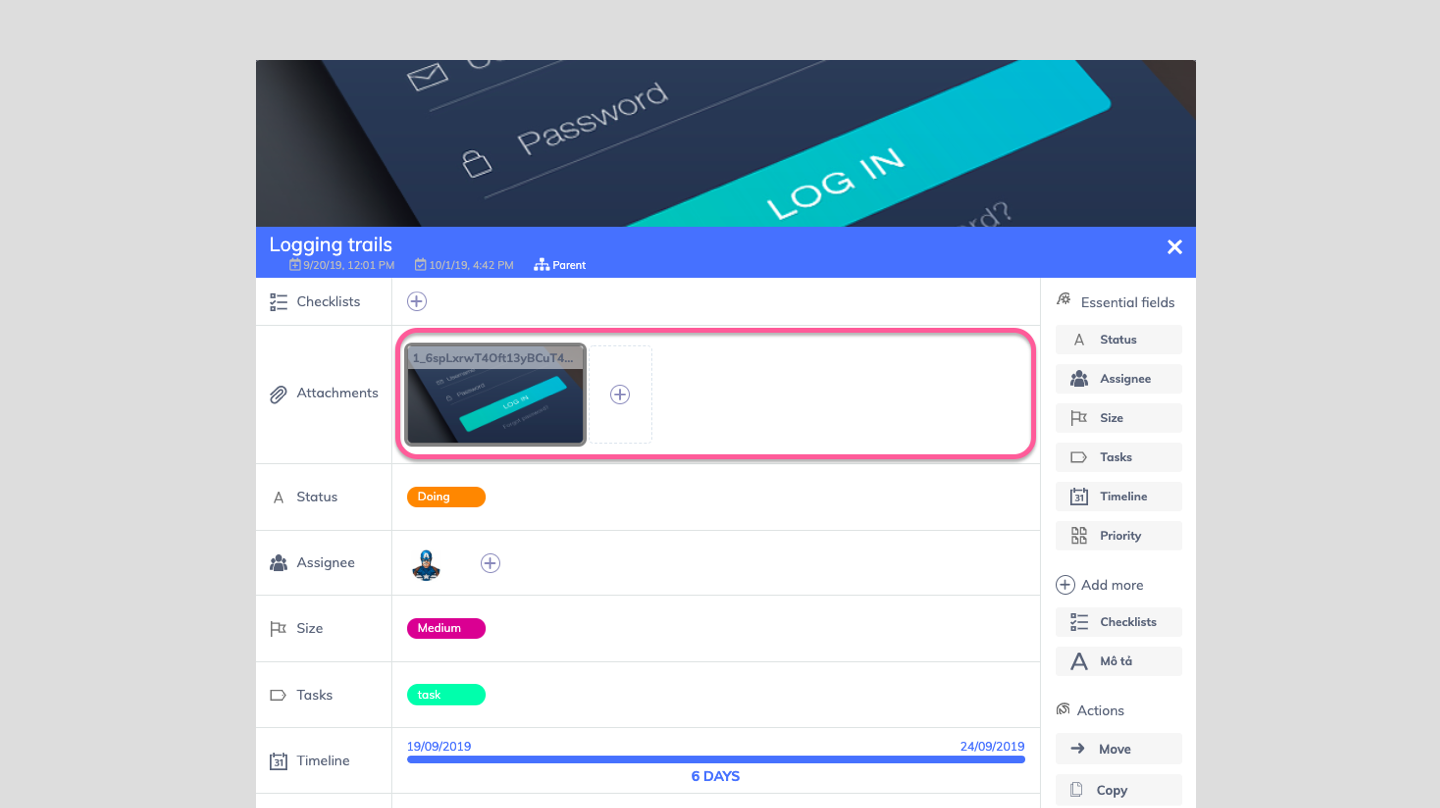
UpDiagram provides friendliness and ease of use for all users’ levels without code requirements, expertise, and well-trained admin. UpDiagram provides over 20 metadata fields, a variety of ways to customize the view, a large number of feature combinations, and assisting purchase users in “taking care” of the project comprehensively.
(A) The UpDiagram Hierarchy
The streamlined task hierarchy in UpDiagram allows you to arrange your team’s activities quickly and easily. It has an easy-to-follow but completely customizable structure:
Projects > Work Views > tasks > subitems > data fields
(B) Multiple Views
UpDiagram also provides you with a variety of project views to adapt a variety of working methods. In the same project, you may switch between views! And here is a deeper look at these modes:
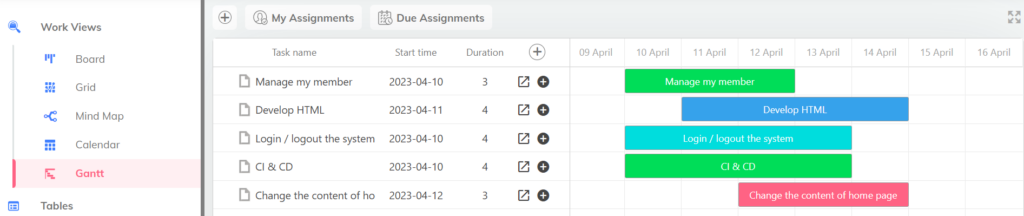
1- Required task views
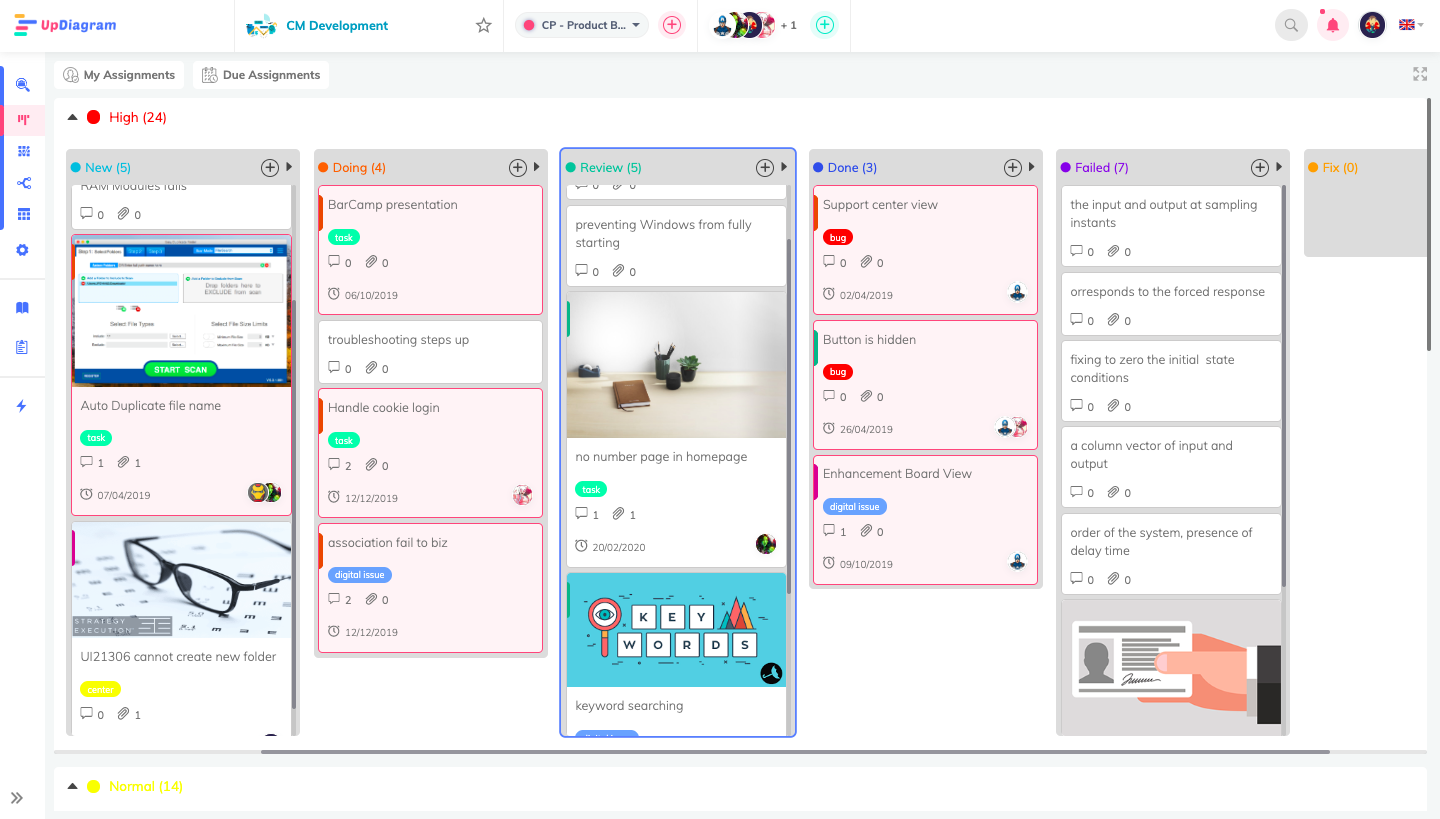
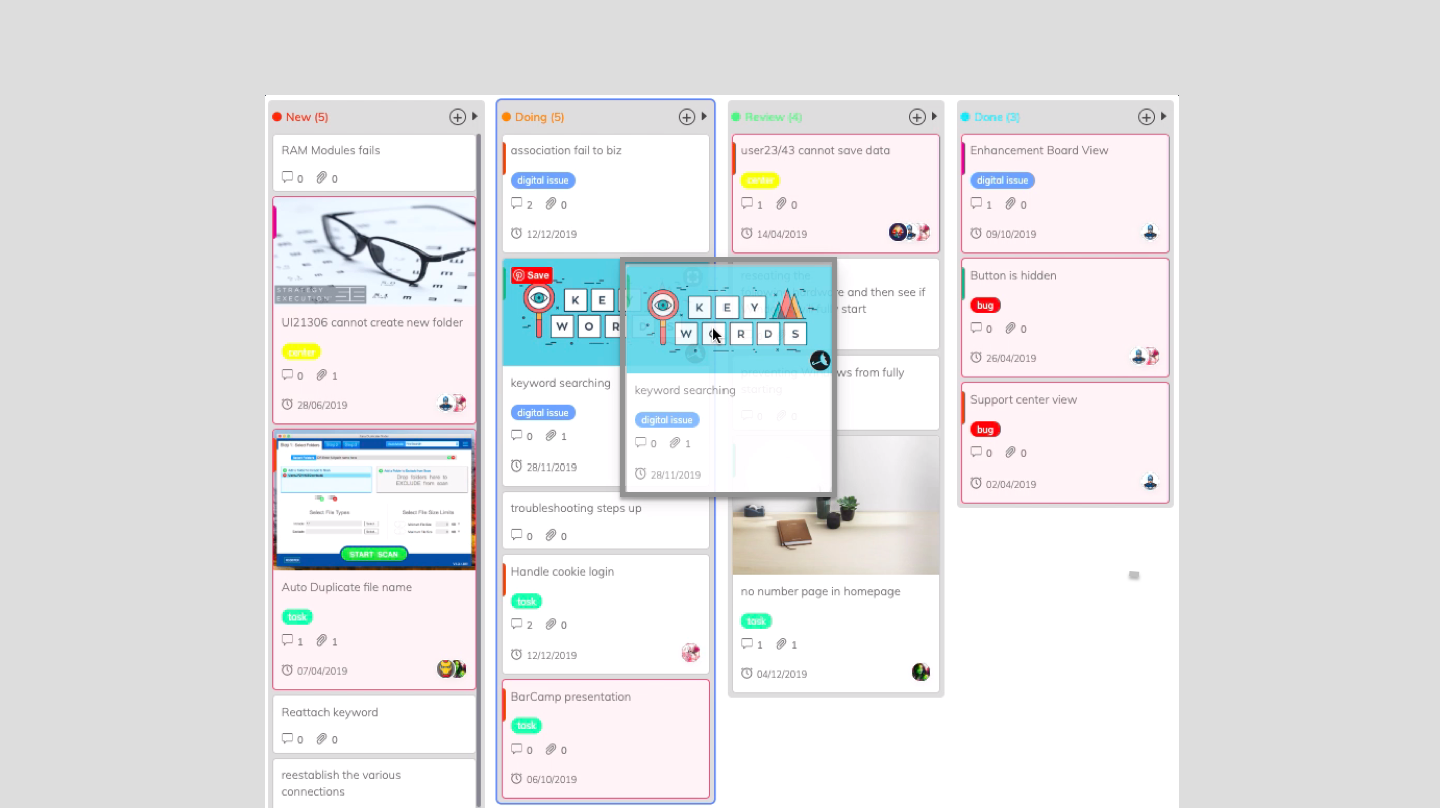 Kanban View: Multiple projects may be easily dragged and dropped into other categories to shift them from task to task and project to project.

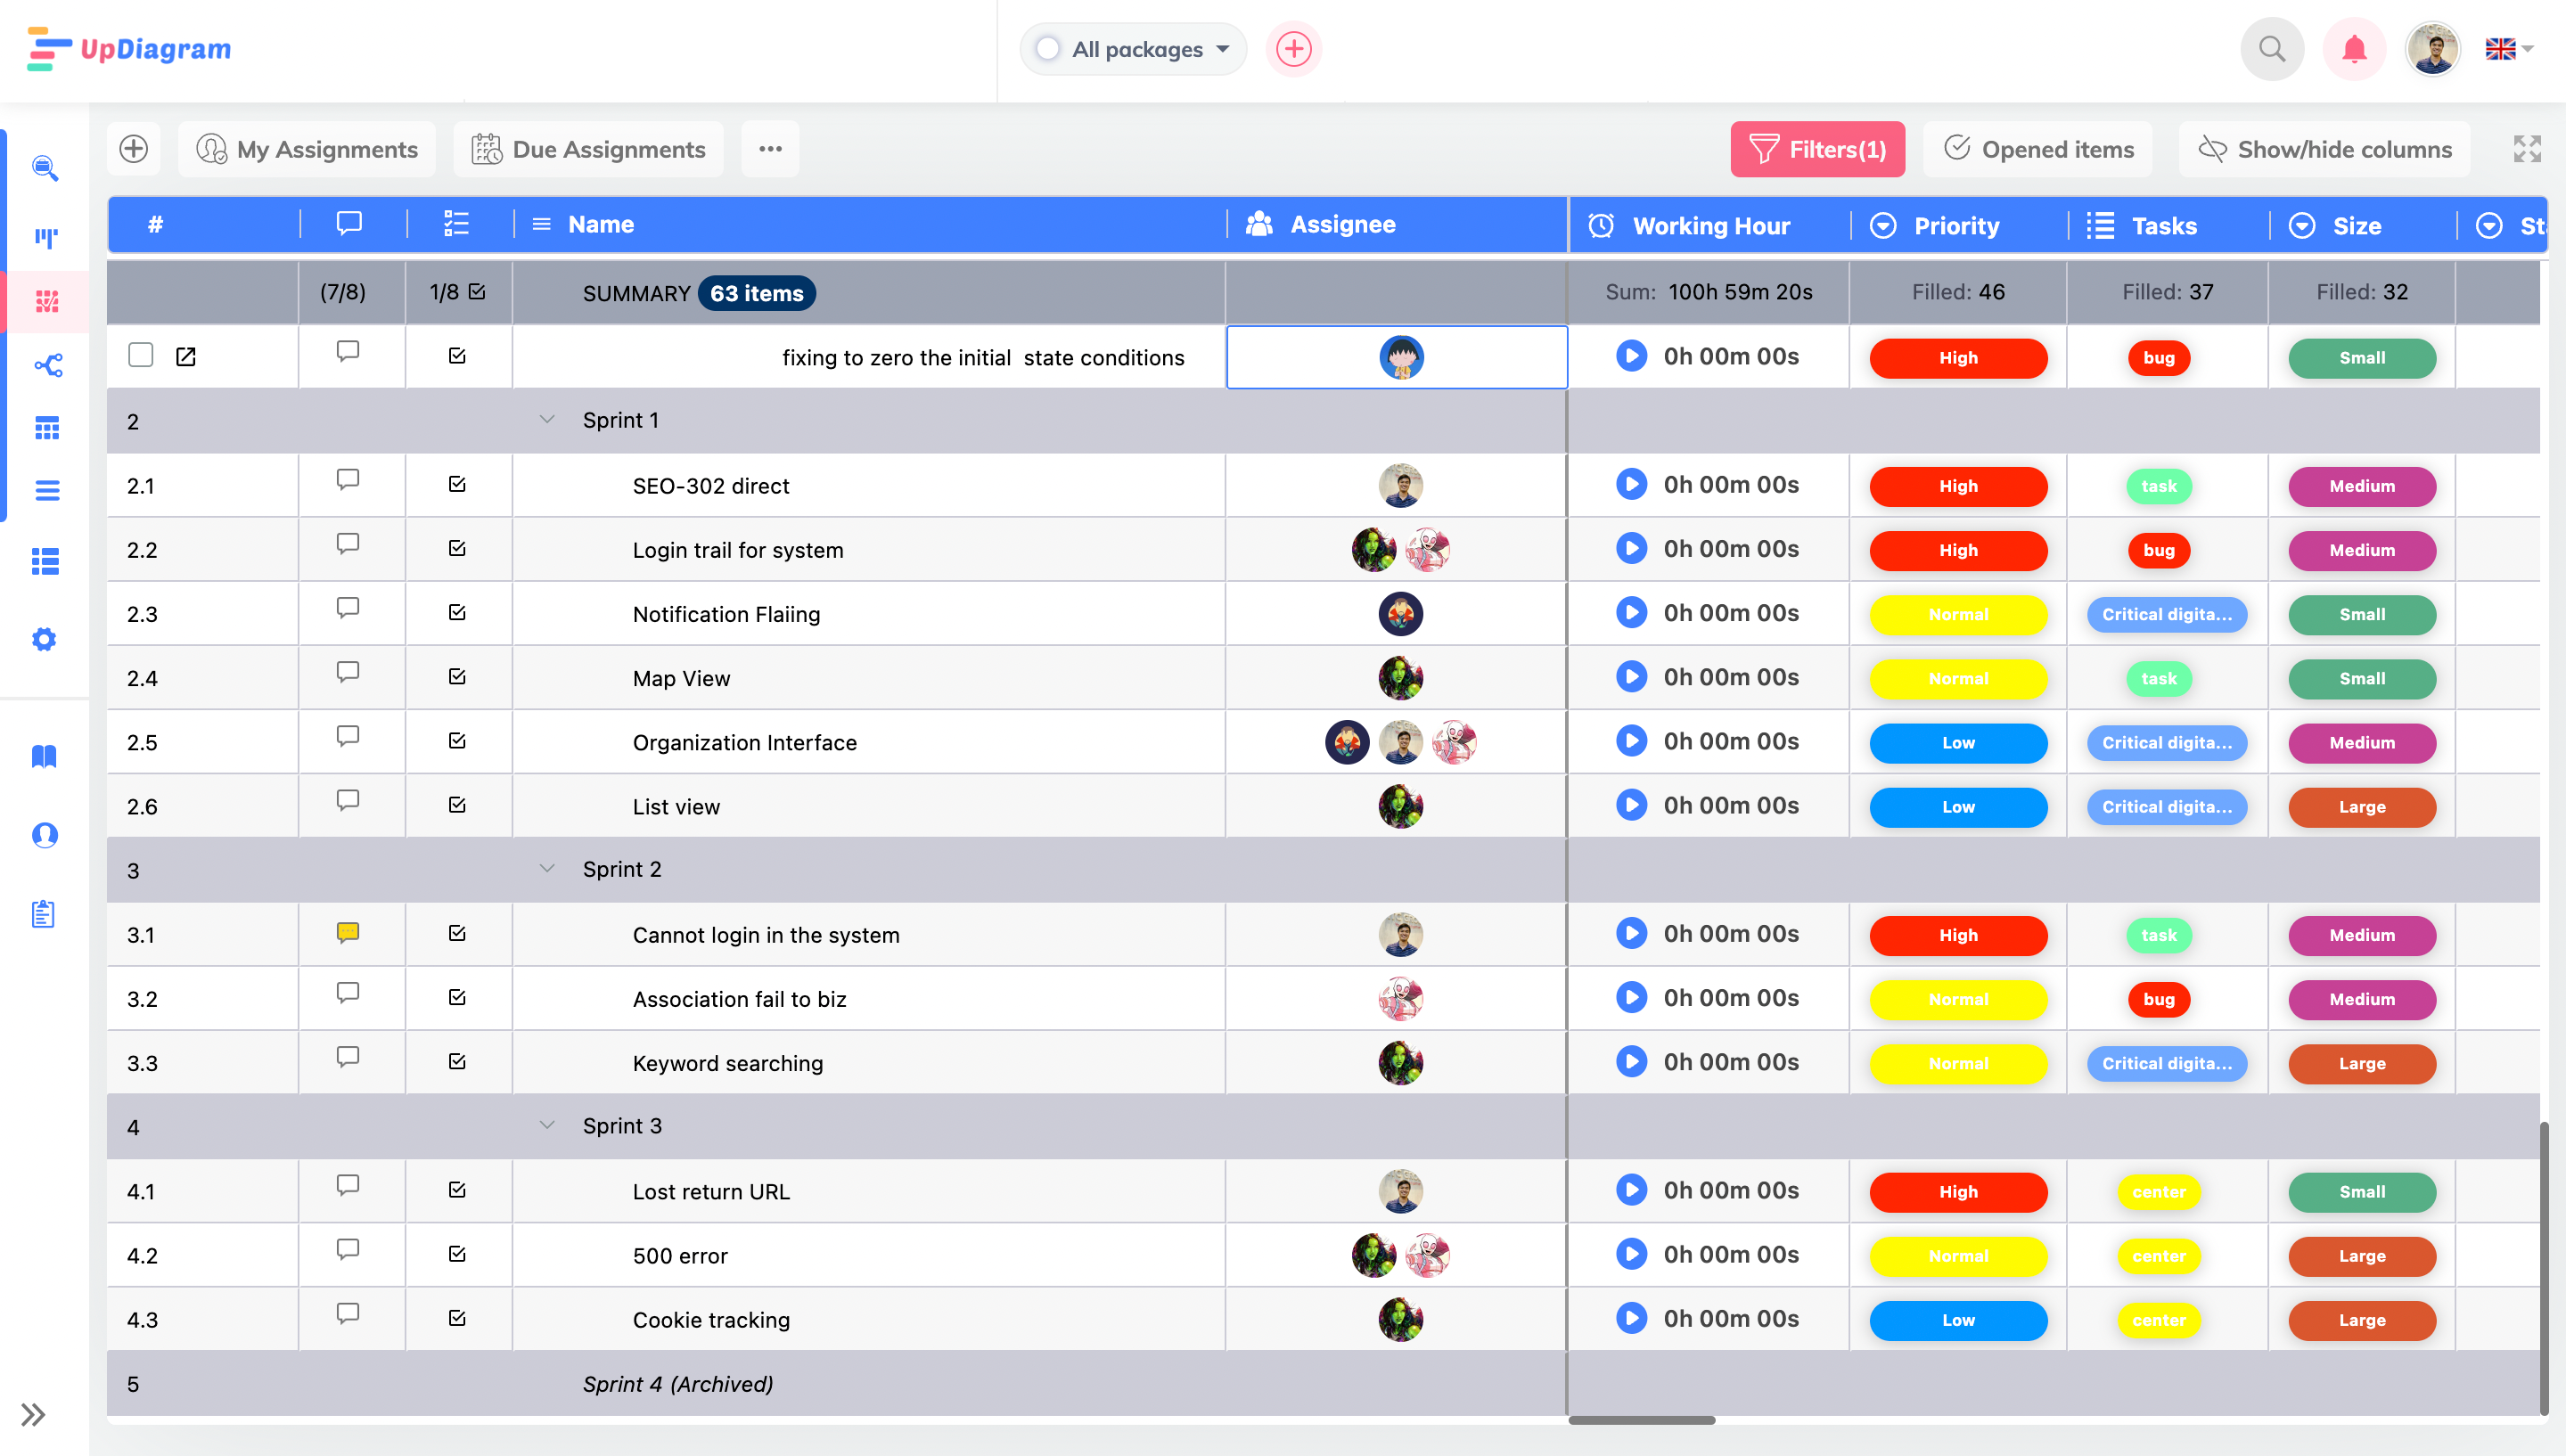
Grid view: All your tasks are shown in one view (as if they were on a checklist), and you may select data fields for yourself. The Grid facilitates an overview of all work and progress for the Scrum Master and Project Manager. This is an excellent solution for folks that need to know immediately and get their tasks done.
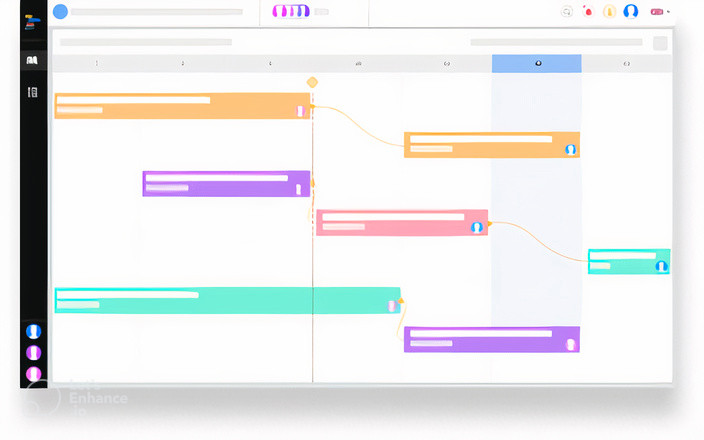
2- Mind map:
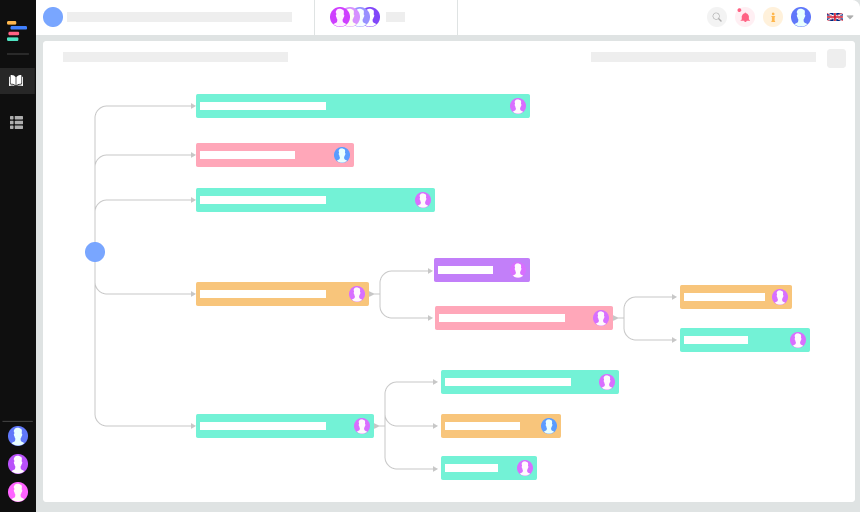
This view provides users with a structured overview of the project, allowing them to comprehend the position of tasks, and their dependencies, as well as grasp their priorities.
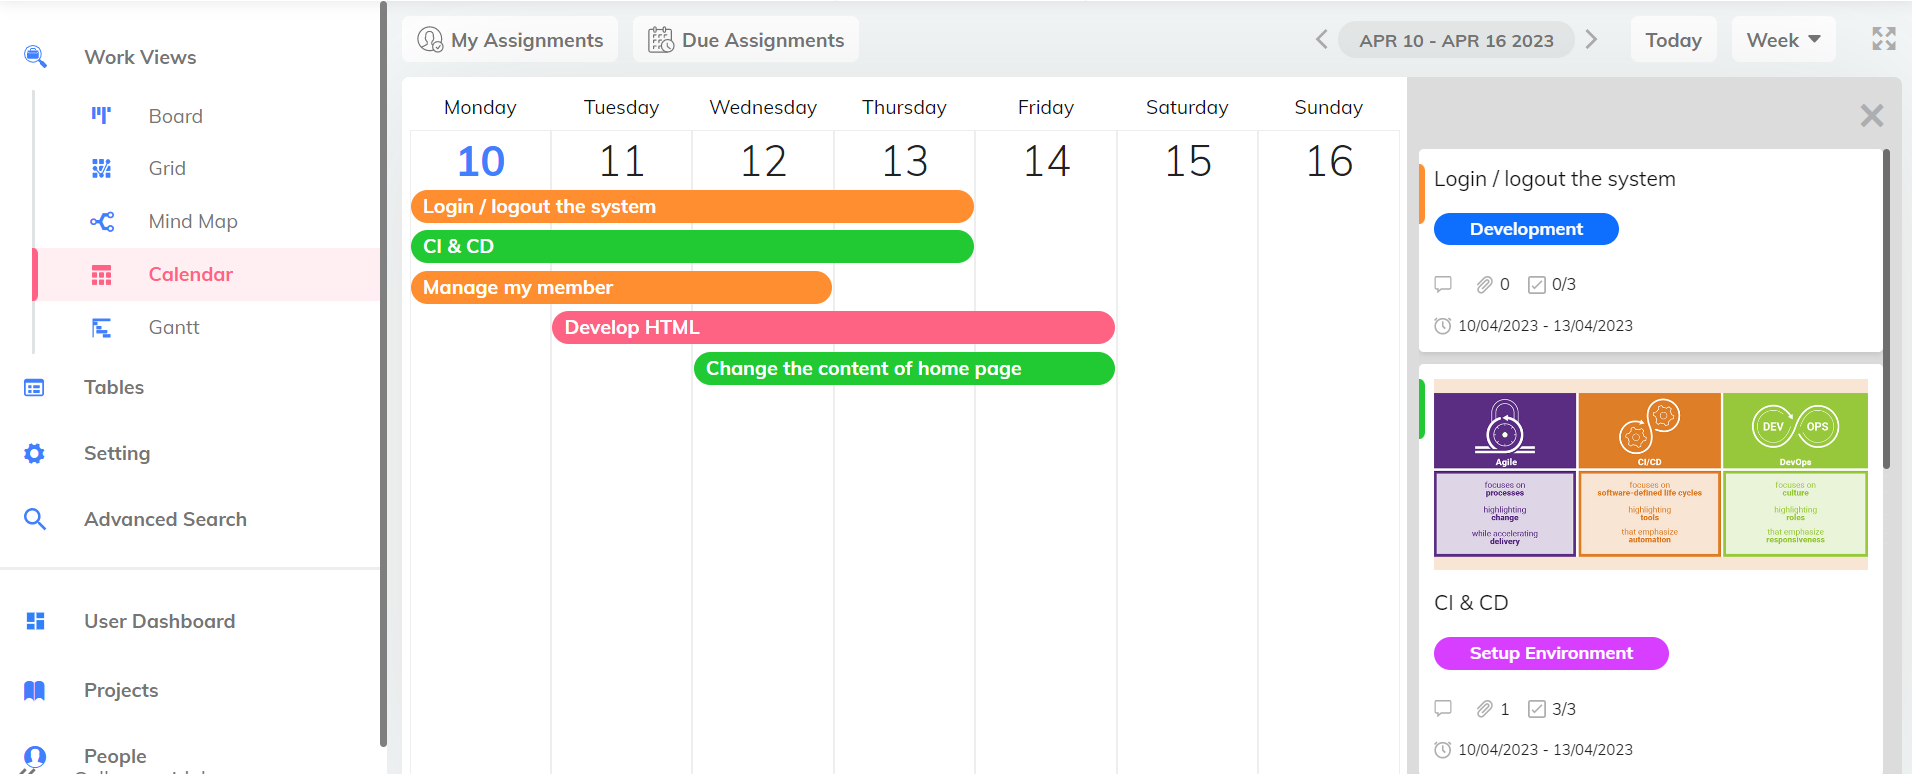
3- Calendar view:
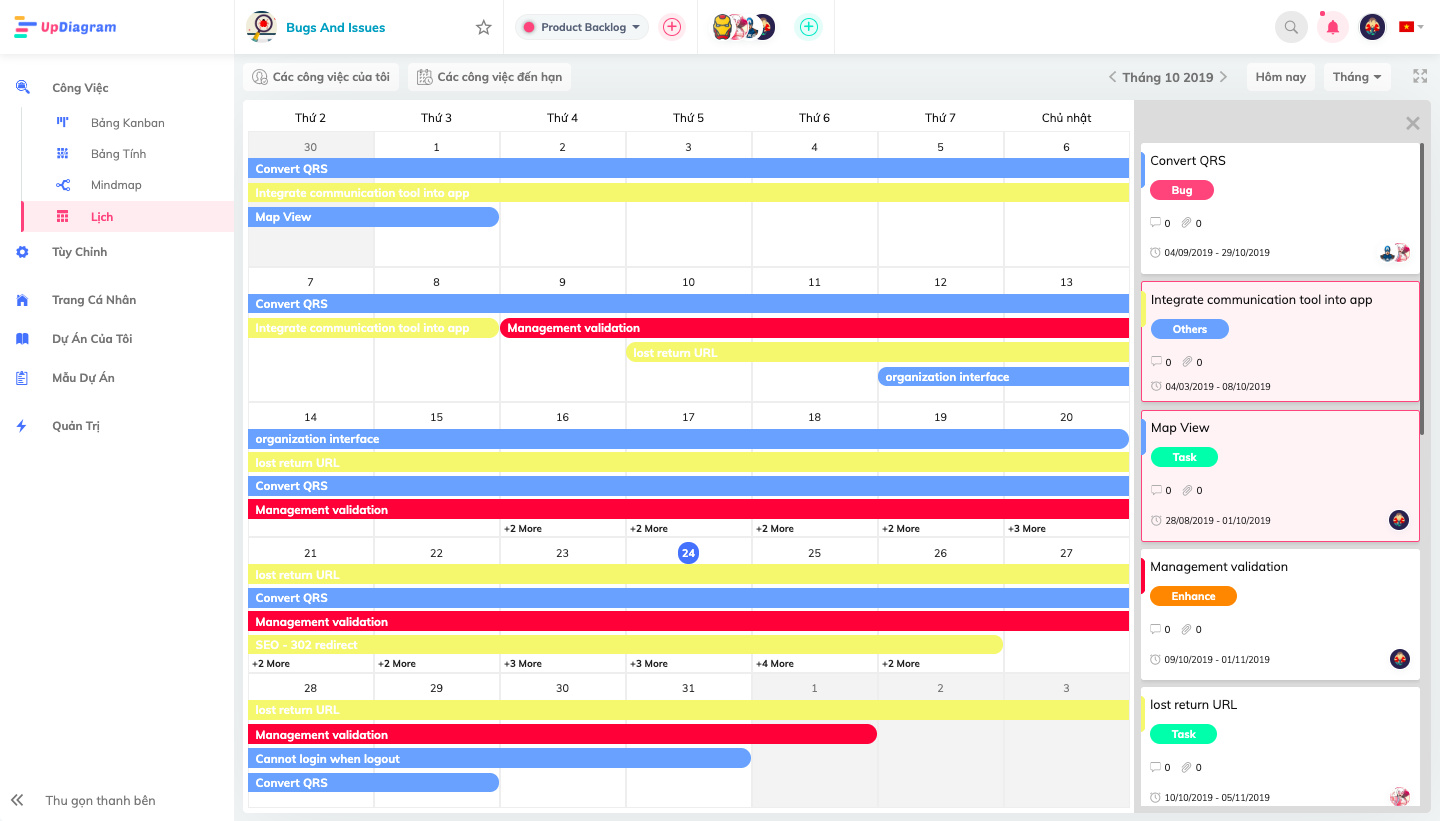 A view similar to your calendar The jobs will be nicely placed on the Calendar View, and UpDiagram will additionally display the task’s timeline/due date. The mode may be set by the week and month. UpDiagram will collect and display jobs with particular deadlines to the right of the Calendar.
4- My Assignment
Users can view the task that has been assigned to them by clicking on “My Assignment”. Users’ focus easily filters their tasks in Grid, Kanban, and Calendar view to shorten their time and effort to search for their assignments. Furthermore, UpDiagram provides Due Assignment, which allows users to keep track of the due date.
3. Fast
Jira problem:
Slow loading times, in the end, will be a limitation for a project management tool, because we might need quickness in some urgent cases.
Jira is a sophisticated tool that takes specialized knowledge to set up and maintain, its complexity comes at the expense of efficiency and speed. User comment about Jira’s slowness:
“Jira and Confluence(Cloud) are toooooo slow!”
Wonkyung Lyu on Community Atlassian
UpDiagram solution:
UpDiagram always brings a smooth experience, which helps users feel comfortable when participating in project management. Some comments about UpDiagram speed:
“It’s absolutely transparent to my team and me. There is no worry about missing priority or updating status before every meeting. It is easy to learn and use very fast. Their support team is also energetic to give me a hand to build projects as soon as possible.”
Enterprise G2 Reviewer
“Clear layout, beautiful interface Reasonable interface arrangement Fast App Loading Speed.”
Lilina on Saashub
“Fast. I can operate quickly on the tool, and data is converted quickly, without any speed problems when using UpDiagram.”
User on alternativeto
We also recognize that speed is only beneficial when combined with dependability, which is why we take pleasure in maintaining the highest levels of availability!
And to top it all off, UpDiagram is simple to use and has an excellent UX UI, anybody can get into the project process and co-working harmoniously. That means no more workflow will be pending cause other team members waiting and ensuring the progress of the project.
4. One for all
Jira problem:
As previously said, Jira and Atlassian software are siblings. How does this affect a single business?
– Jira is a project management tool for developers and product teams.
– Trello is for kanban projects, marketing, and other simple project workflows.
– Confluence is used to save, share, and keep track of wikis, documents, and playbooks.
– To fill up the gaps, a range of integrations such as goals, OKRs, time tracking, and automation…
Having your work distributed over numerous software applications invariably results in a lot of multiple processes and searching for resources, resulting in a loss of productivity, messages, and composure.
UpDiagram solution:
UpDiagram is here to simplify processes but maximize productivity. This platform is customizable and offers all work perspectives. UpDiagram maintains all of your work in one place, which means it provides you with all of the necessary tools you require. We assist you in becoming more efficient. For example, you can schedule a meeting for tasks that have Date features installed, be up-to-date and alerted with Notification, or integrate Slack, and RocketChat every time the meetings come.
On top of that, we’re always trying to improve your working experience by releasing new features and upgrades every week.
5. Customer support
Jira problem:
Jira’s support documentation is difficult to understand. Searching for specific phrases is both time-consuming and confusing. You’re not simply provided a support doc resource; you might get stuck with its community forums and articles. Overall, troubleshooting Jira bugs on your own is a nightmare.
UpDiagram solution:
We place a high value on offering assistance. In truth, at UpDiagram, our number one Core Value is to “deliver the best satisfying client experience.”
We’re here to help you get the most of every feature and have the greatest possible user experience, whether you need to refer to our thorough Support Docs (guideline, features detail, etc), ask a short question through chat on social media (Facebook, LinkedIn), send an email, or book meeting for a free coaching call.
We’re here to support you whenever you need it, 24 hours a day, seven days a week!
6. Partnership with Start-up
Jira problem:
Jira is an old-established tool; as previously said, Jira costs are high and fluctuate over time. Because they don’t need to partner with startups, Jira’s target users are big enterprises.
UpDiagram solution:
Although UpDiagram has just appeared on the market, UpDiagram provides ideal and similar functions that adapt startups’ and enterprises’ needs to manage their projects at reasonable expenses. And what makes UpDiagram an ideal partner with startups is the desire for a win-win partnership for both sides. With the partnership, start-ups will:
– Within two years, you’ll get a Premium package license for free—up to $0 for a long-term partnership.
– When you provide feedback and suggest additional new functions, you will earn more accumulation points, which will increase your discount for the next payment.
Furthermore, UpDiagram also has a stable pricing plan for startups and enterprises to ensure the pricing will not be increased forever. Let’s contact us for more information.
Conclusion
With more changes, Jira loses consumer sentiment. If you’re searching for a Jira alternative due to pricing, ease of use, performance, convenience, support service, or because you’re being forced to leave their server-based service, go no further than UpDiagram to satisfy all of your work management needs! These offers UpDiagram gives you:
– The interface is user-friendly, modification is straightforward, and the function is simple to use.
– Any team may use it, and any project can benefit from it.
– Customer service is critical. Points of Interest.
Don’t wait, check out this guideline, which walks cloud-based Jira users through the process of importing their data into UpDiagram in minutes.