Import from Trello
Only Admin and Members in a Trello project can import the project into UpDiagram.
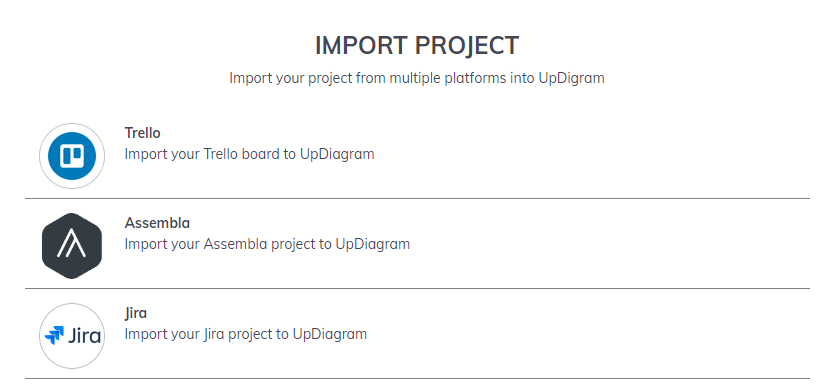
- Step 1: Log in to your UpDiagram account. Then, select Add project >>> Import Project.
- Step 2: Select import your Trello project to UpDiagram
- Step 3: The interface will provide you with general information regarding UpDiagram and Trello. You must choose to Allow for that project’s import.
- Step 4: UpDiagram will list all available projects on the platform; all you have to do now is choose the project you want to import.
- Step 5: You need to input some basic data to make your project on UpDiagram clearer (image cover, name, description) and select SAVE.
- Step 6: Map user
You may connect an UpDiagram user to another user in a Trello project (enter email address to link).
Note: Please keep in mind that only users in your Trello project may be linked to UpDiagram users.
- Step 7: Finally, users must confirm the project import.
It’s that simple, right? With just clicks and clicks, you can integrate Trello easily.
Import from Assembla
If you are using Assembla, and want to import your data to UpDiagram, we have our “Import Assembla” feature released to help our users change their workspace easily.
1. Import your Assembla project into UpDiagram
Only Admin and Members in an Assembla project can import the project into UpDiagram.
- Step 1: At your Project page, click on “Add Project” then select “Import Project”.
- Step 2: On this page, UpDiagram will show you all the tools that you can import to UpDiagram. In this case, we choose “Assembla” to import our Assembla project.
- Step 3: Moving on, we choose the project space from Assembla that we want to import to UpDiagram
- Step 4: Next, UpDiagram will enable us to edit our project information including “Project name” and “Description”. When you have your editions done, click “Save”.
- Step 5: Set your basic project description, we are moving to add project members to who we want to assign tasks. (instruction at below part)
- Step 6: After adding all your project members, we choose “Import” to import our project data from Assembla. When our project is imported and already in use, UpDiagram will send you a notification through an email. Click “Ok” to move to your importing project dashboard.
- Step 7: When your project finished importing, let’s do some check on it by selecting a view mode on Work Views.
2. Add project member
- Step 1: To add them, we choose “Map user”
- Step 2: Then type your member’s email.
- Step 3: When you find the right member accounts, click on their accounts.
Noted: Make sure that your members have their email registered on UpDiagram yet.
- Step 4: Then click “Add”.
Before transferring data, UpDiagram will check again your missing members from Assembla’s project.
If you want to add them, choose “Check contacts”, then UpDiagram will show us a list of unidentified assigned people to update.
If we have enough of our project’s members, then click “Import”.
Import from Jira
Due to user demand to migrate data from their current project management platform to save time and effort, UpDiagram now supports importing Jira projects.
1. Import from Jira
Only Admin and Members in a Jira project can import the project into UpDiagram.
- Step 1: Log in to your UpDiagram account. Then, select Add project >>> Import Project.
- Step 2: Select import your Jira project to UpDiagram
- Step 3: Input required information to import
After clicking on the Jira project, you will navigate to the page where to input the necessary data. Here you will need to enter data according to the requirements: “your email”, “your Jira Workspace name”, and “your API token”.
- Step 4: After entering the required data, click “Connect”.
- Step 5: UpDiagram will display all available projects on Jira and now you just need to select the project you would like to import.
- Step 6: Map user
You are able to map UpDiagram user to user in the Jira project (enter email address to link).
Note: only users who are in your Jira project can be mapped with UpDiagram users.
- Step 7: Your data will be completely transferred from Jira to UpDiagram. You can input some basic data to make your project on UpDiagram clearer.
2. Get Jira Workspace name
- Jira Workspace name is the name of your workspace on Jira (you can check in your Jira URL). Ex: your URL is testing001.atlassian.net, you should input testing001 in this field.
3. Get API Token?
- To get API token, let’s access your Jira account, go to “Account setting”
- Then, It show you the Atlassian account page. Select “Security “and “Create and Manage API tokens”
- After that, you can create your API token there.
*Note: you should save these tokens somewhere in case you may need to reuse them again.
Import from Excel
Importing excel in UpDiagram with following basic steps
- Step 1: Define which sheet and data type you want to import in your excel file
- Step 2: Create the same custom fields as your excel file
- Step 3: Go to Grid view and create a new package
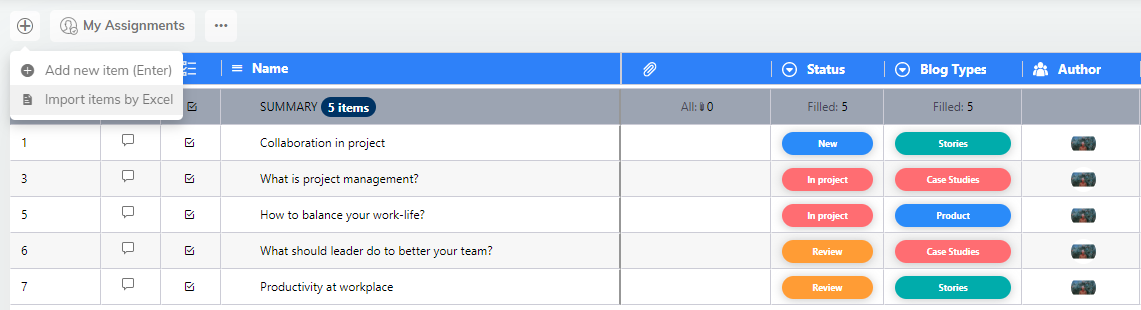
- Step 4: Click on “Add New Items” and choose to import by excel
- Step 5: Select the excel file you want to import then select the sheet you want to import
- Step 6: Map UpDiagram’s custom fields to excel column and press “Import”
Click refresh to load more items after importing
Export to Excel
Exporting excel in UpDiagram is simpler than ever with just following basic steps
- Step 1: Select the project you need to export by clicking view details
- Step 2: Go to Work Views and select Gird
- Step 3: Select More Actions toll above the data table then select export to excel
Your data will be downloaded automatically